


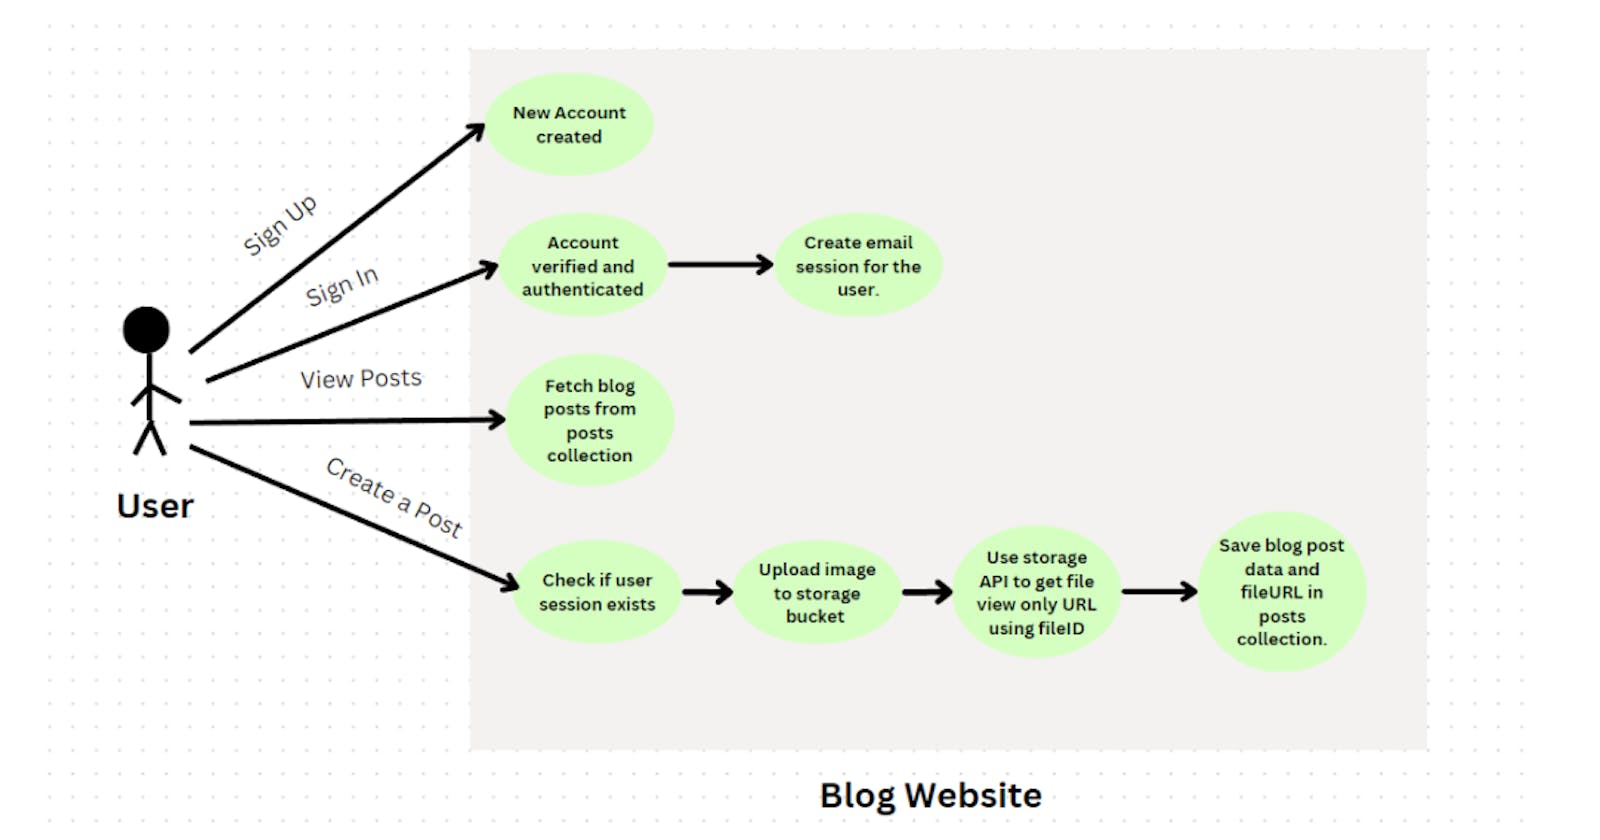
In this tutorial I will be building the backend of a simple blog website using Appwrite cloud. I will be covering user authentication and sessions, databases and file storage. Do note that Appwrite cloud is currently in public beta. Instead of going for Appwrite cloud, you can also self-host Appwrite and gain access to features that the cloud version does not currently have. Self hosting and creating a frontend will not be covered in this tutorial.
What is Appwrite?
Appwrite is a backend-as-a-service or BaaS. Using a backend as a service prevents you from having to write your server code from scratch. Appwrite consists of services for user authentication and session management, databases, file storage, realtime connections, cloud functions for custom logic, locale APIs etc. Examples of some other popular BaaS are Firebase, Supabase, AWS.
Getting started
To get started with appwrite cloud head over to https://cloud.appwrite.io/login.
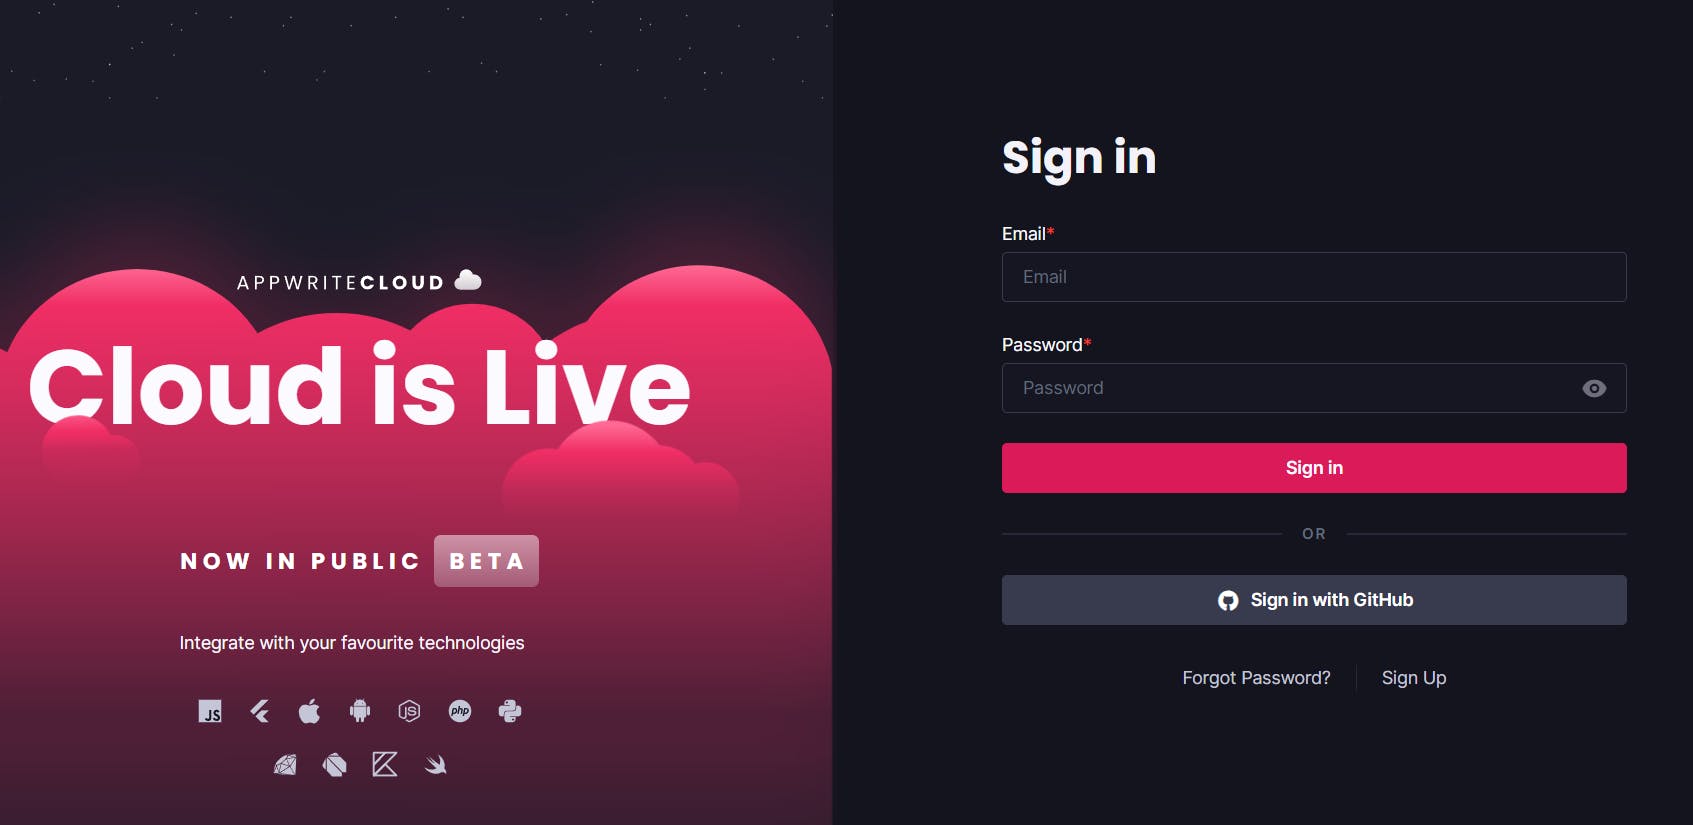
Create an account and sign in to the Appwrite console.
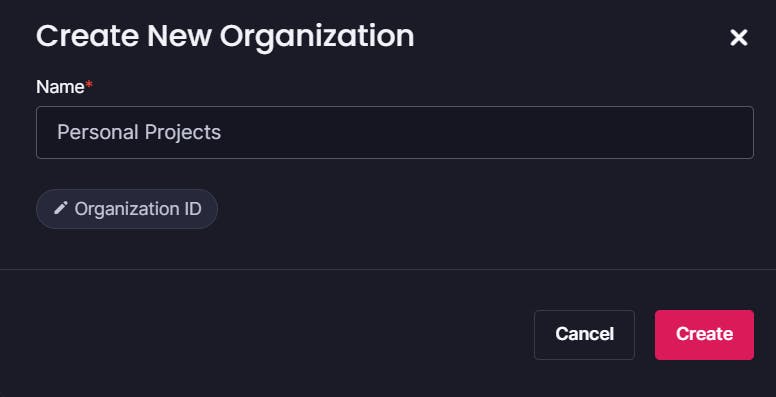
You will then need to create an organization, an organization can have multiple projects associated with it. You can also add team members to an organization if you wish to collaborate and hence use the same resources. I am going to create an organization named personal projects.
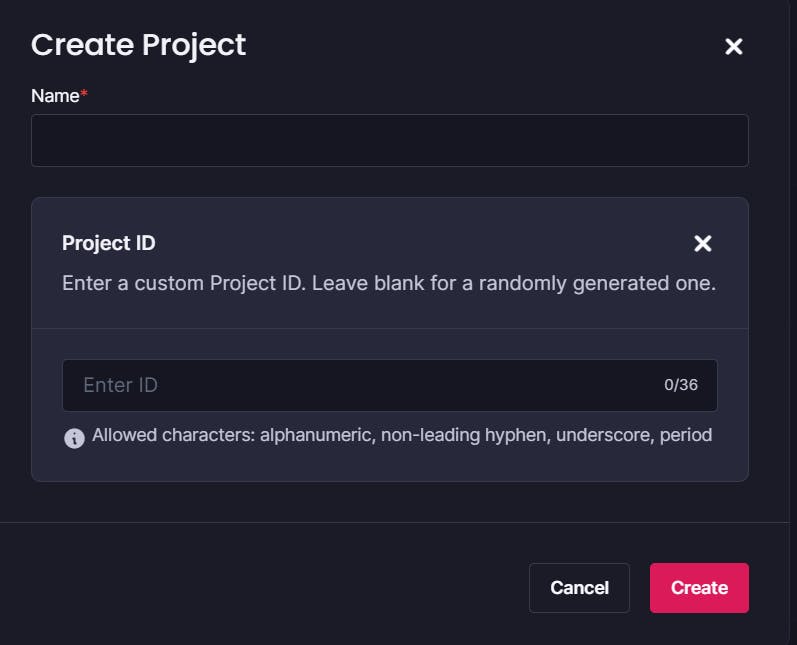
Create a new project. Each project has a project ID associated with it. You can access your project programmatically using this project ID. You can enter your custom project ID or randomly generate one.
Register your web app
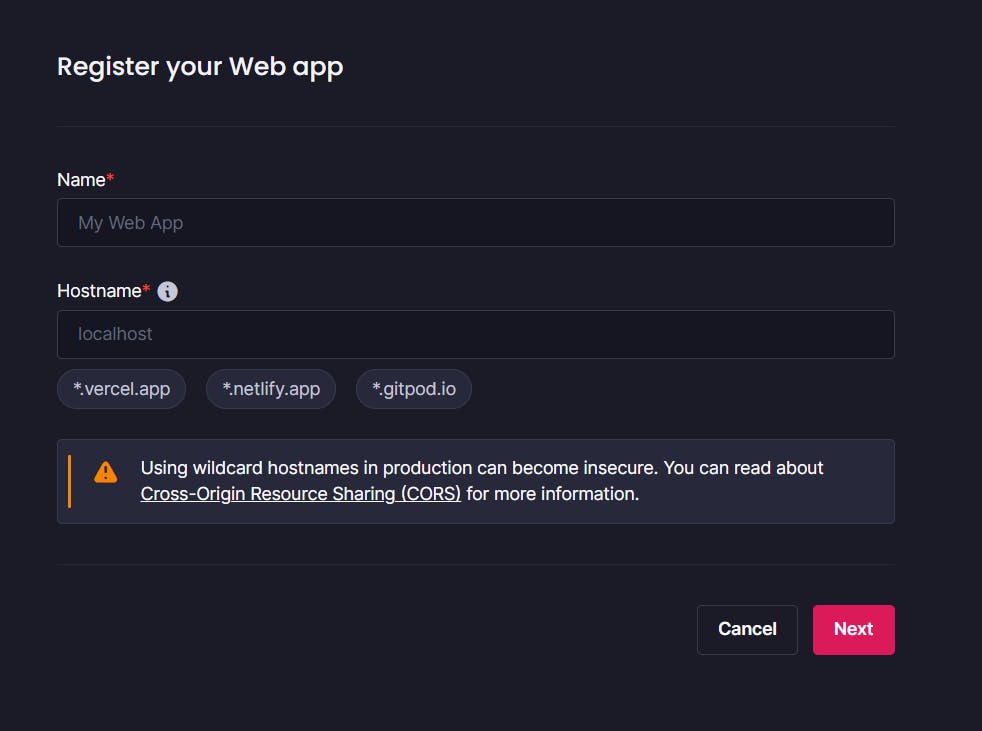
You should now be in your project console and would be able to view the following services:

Setting up appwrite services for your project
As covered in the project flow, we will need to set up a storage bucket for images and a database for blog data.
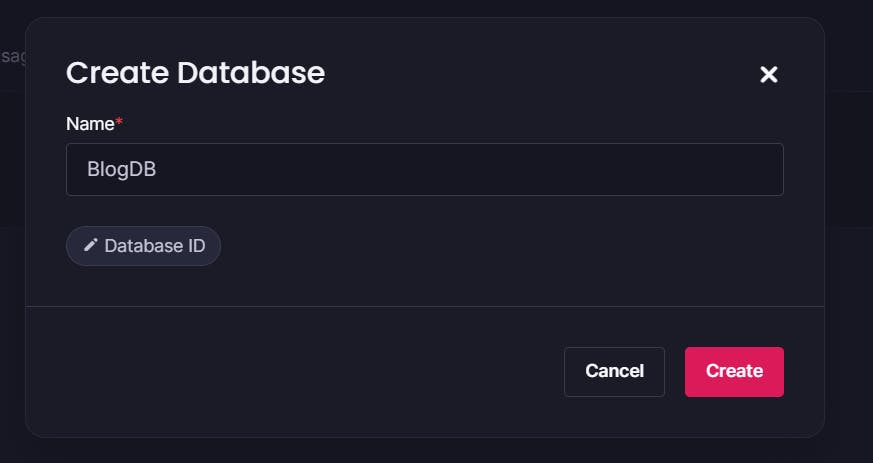
Set up a database
Create a database for your project, this will have various collections where data would be stored.
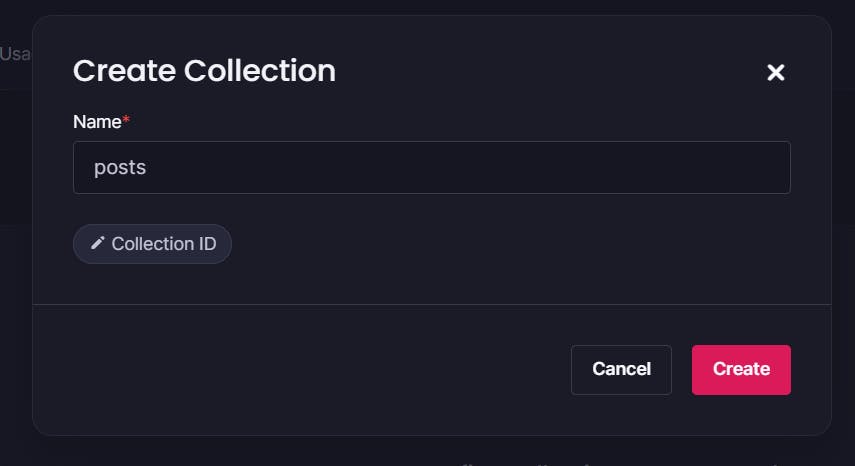
Create a collection for blog posts.
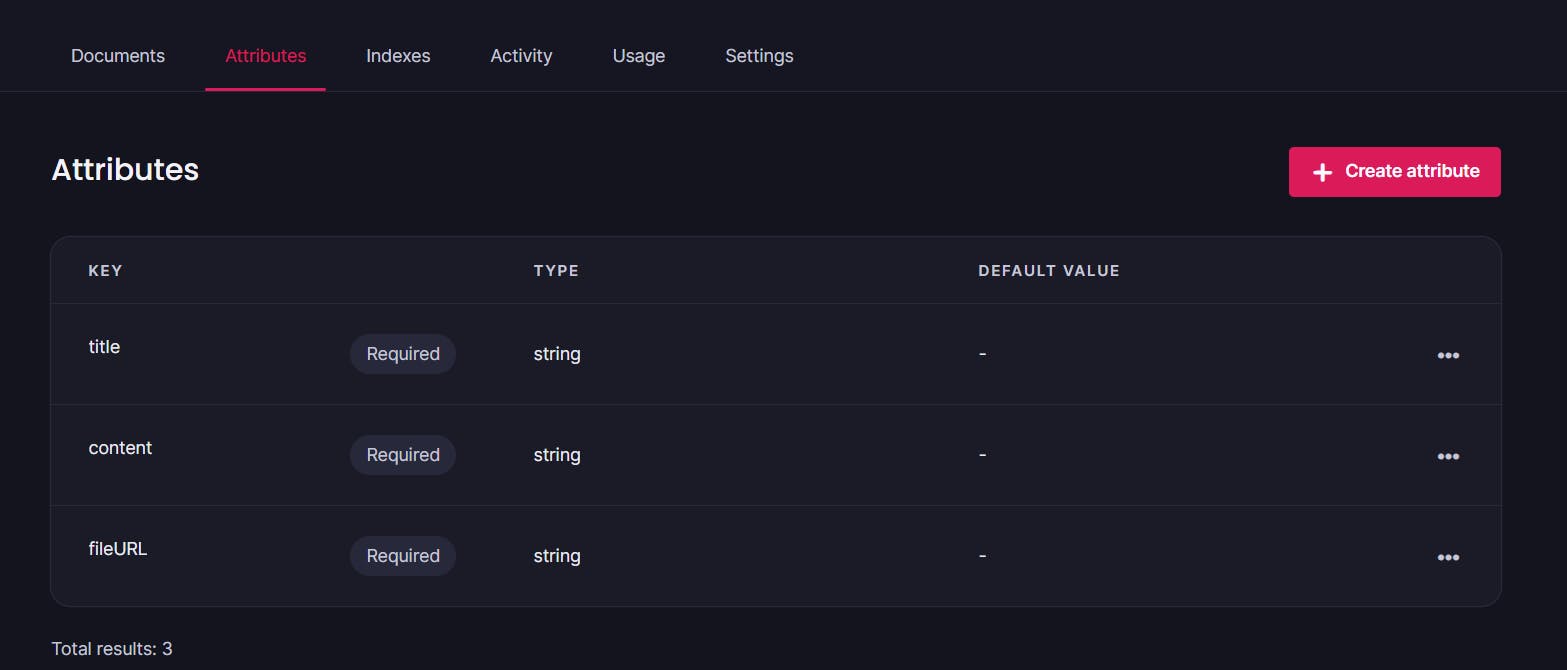
Add Attributes to the collection.
I am adding a title, content and a fileURL which is the view only URL of the image.
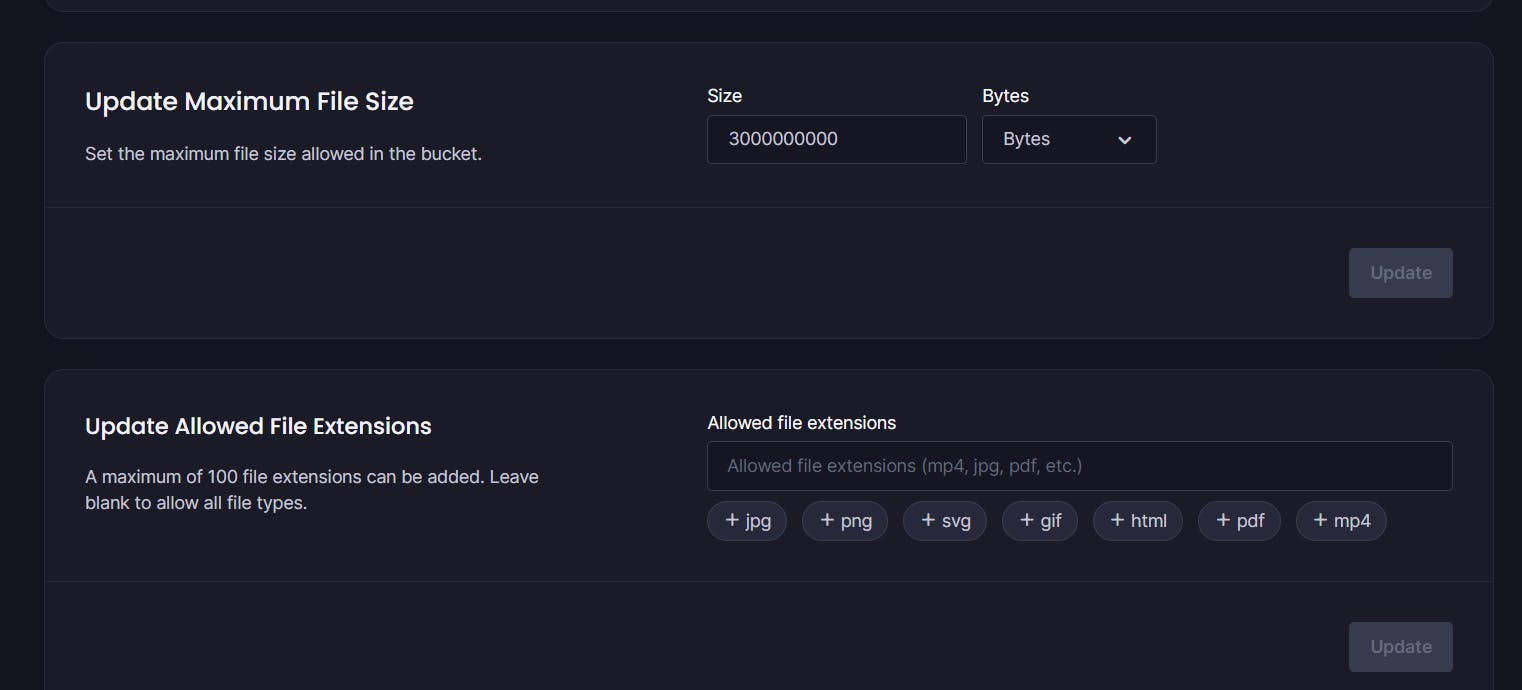
Set up a Storage Bucket
Create a storage bucket for the project. You can edit the file size and add allowed file extensions for restricting which files the user uploads.
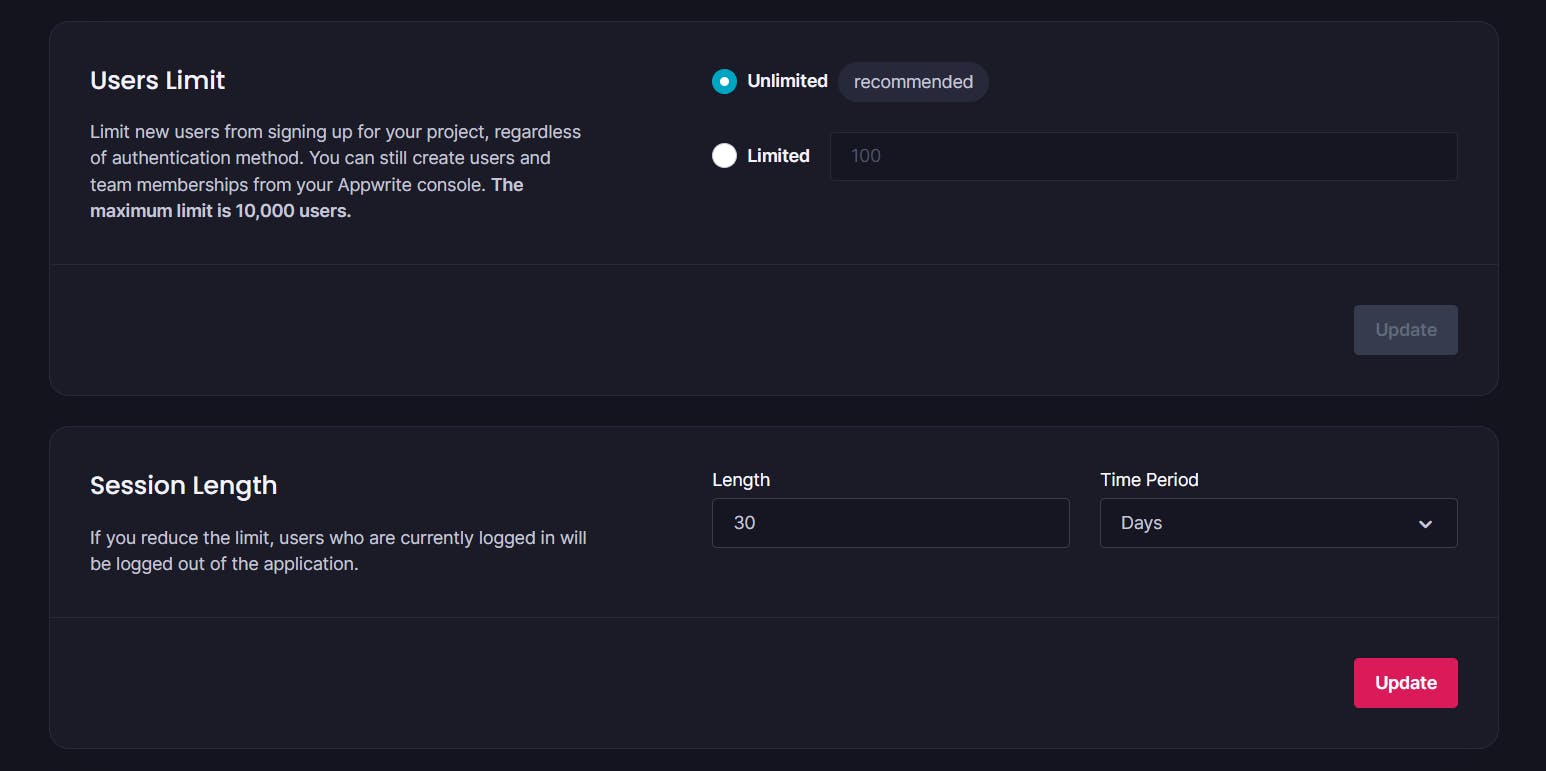
Set up Auth
You can limit the number of users, set the length of user sessions and also set the maximum sessions a single user can have in the appwrite console.
Setting up your React frontend
Create a react application.
Install Appwrite in your project.
npm install appwrite
Create a ".env" file to store your appwrite env variables like your project ID, databaseID, storage bucket ID etc. You need these IDs to be able to interact with these services programmatically.
You can use the following example env for this blog site project :
 REACT_APP_PROJECT_ENDPOINT= "https://cloud.appwrite.io/v1"
 REACT_APP_PROJECT_ID= ""
 REACT_APP_DATABASE_ID= ""
 REACT_APP_POSTS_COLLECTION_ID= ""
 REACT_APP_STORAGE_BUCKET_ID=""
Create a folder utils under src, then create a config.js file inside utils. I will be using the config object created in this file to access env variables.
Note that you can also use the env variables directly, this is the way I do it.
 export const config = {
   projectEndpoint: process.env.REACT_APP_PROJECT_ENDPOINT,
   projectID: process.env.REACT_APP_PROJECT_ID,
   databaseID: process.env.REACT_APP_DATABASE_ID,
   postsCollectionID: process.env.REACT_APP_POSTS_COLLECTION_ID,
   bucketID: process.env.REACT_APP_STORAGE_BUCKET_ID,
 };
I will import this config object whenever I need to access environment variables.
Create a file to write all Appwrite code to perform database CRUD operations etc. Note that you can write Appwrite code directly as functions inside your react component files. However, this leads to repetition and hence it is a good practice to create a separate file to write all of your Appwrite code and import it wherever you wish to use it.
Create a folder named apis and create an apis.js inside the folder to write backend code.
Writing Backend Code
After all of the above is done, we can start writing code for our backend.
Create a new user on Signup
Use the account API to create a new user with an email, password and name. Pass in the email, password and name fields from the frontend.
 //creates a new user for the project, user can create blog posts
  createAccount: async (email, password, name) => {
 //ID.unique() randomly generates a new ID, u can enter a custom unique ID using date and time
    return await account.create(ID.unique(), email, password, name);
  },
Create an email session
This function verifies the provided email and password and then creates an email session for that user. How long the session will be valid can be adjusted in the appwrite console.
//creates user session valid till one year
  createSession: async (email, password) => {
    return await account.createEmailSession(email, password);
  },
Get current logged in user
After creating a session you can create a global react context or use local memory to save the login status of the user. If the user is logged in, you can get account details using account.get() from the accounts API.
getAccount: async () => {
    return await account.get();
  },
Delete current session
Useful for successfully logging out user
deleteCurrentSession: async () => {
    return await account.deleteSession("current");
  },
Upload a file to storage bucket
Uploading files to storage buckets is much cheaper than storing them on a database and hence much more scalable. Here instead of using ID.unique() I have created a custom id which will always be unique using date and time.
uploadFile: async (file) => {
    //generate a custom unique file id
    const fileID = new Date().getTime() + "-" + Math.random().toString(36).substring(7);
    return await storage.createFile(config.bucketID, fileID, file);
  },
Get view URL of an image
To get the view URL (which can be used to display images on a frontend), you can use the file ID. This fileURL can be saved in the collection with the post title and content.
//retrieve view only link of a particular file from bucket
  viewImage: async (fileID) => {
    return await storage.getFilePreview(config.bucketID, fileID);
  },
Create a post
 createArt: async (name, description, price, fileID) => {
    //firstly use the fileID to get the view only file url from the storage bucket
    const fileURL = await api.viewImage(fileID);
    //pass in the parameters and the file URL to be saved in the collection
    return await database.createDocument(
      config.databaseID,
      config.postsCollectionID,
      ID.unique(),
      {
        title: name,
        description: description,
        fileURL: fileURL,
      }
    );
  },
View All Posts
List all the documents from your collection
viewAllPosts: async () => {
    return await database.listDocuments(
      config.databaseID,
      config.postsCollectionID,
      []
    );
  },
Integration with frontend
With this you have successfully created the backend of a simple blog website using appwrite. To integrate this with your frontend, simply import the apis.js file and access the functions we just created.
Other Projects built with Appwrite
Check out other projects built using Appwrite at https://builtwith.appwrite.io/
I hope you learnt something from this blog, if you did, do drop a like and follow me on hashnode for future content.
Thank you for reading !!!